
If you’re searching for practical tips on landscape photography for hikers, you probably want more than camera specs and generic advice. You want to know how to capture sweeping vistas, shifting light, and hard-earned summit views without weighing down your pack or missing the moment.
This article is built specifically for trail-tested adventurers who need efficient gear choices, field-ready techniques, and composition strategies that work in unpredictable outdoor conditions. We break down how to plan shots before you lace up your boots, adjust to changing weather and elevation, and make the most of natural light from sunrise to golden hour.
Our guidance draws from experienced backcountry photographers, tested gear comparisons, and real-world trail scenarios to ensure every recommendation is practical, lightweight, and proven outdoors.
By the end, you’ll know how to travel smarter, shoot sharper, and return home with images that truly reflect the scale and emotion of your journey.
Shoot Like the Mountains Matter
Great trail views deserve more than quick snaps. landscape photography for hikers means thinking about foreground, midground, and background to create depth. Use a leading line—like a winding path—to pull viewers in (yes, like that sweeping shot from The Lord of the Rings). Some argue phones are enough and composition is overrated. But when light shifts FAST, framing with intention makes the difference between meh and WOW. Drop your pack, lower your angle, and let a tree branch frame the skyline. PRO TIP: wait thirty seconds for clouds to move. Trust your hiking instincts.
The Hiker’s Camera Kit: Pack Smart, Shoot Better
Beyond the Smartphone
Smartphones are convenient (and yes, we all love a quick summit selfie). However, dedicated cameras still outperform them in dynamic range—the ability to capture detail in both bright highlights and deep shadows. According to DXOMARK sensor tests, larger sensors in mirrorless and DSLR cameras consistently deliver higher dynamic range and resolution than smartphones. In high-contrast scenes like alpine sunrises, that difference means retaining sky color instead of blowing it out completely. Mirrorless systems, in particular, offer comparable image quality to DSLRs in lighter bodies—ideal when every ounce in your pack matters.
The Essential Lens
Next, consider your lens. A wide-angle zoom (such as 16–35mm) is the workhorse of landscape photography for hikers. It captures sweeping vistas, dramatic foregrounds, and tight switchbacks without forcing you to step backward off a cliff (always appreciated). Field tests from outdoor publications consistently rank wide-angle zooms as the most versatile option for trail shooting.
The Lightweight Tripod
Meanwhile, sharp dawn and dusk images demand stability. A carbon fiber tripod reduces weight by up to 30% compared to aluminum models while maintaining rigidity (Source: B&H product data). Compact designs strap easily to backpacks.
Essential Filters
Finally, pack two filters: a Circular Polarizer to reduce glare and enhance skies, and a Neutral Density filter for long-exposure waterfall effects. Pro tip: buy high-quality glass—cheap filters degrade sharpness noticeably.
Composition on the Trail: Seeing the Shot Before You Take It
Great trail photos rarely happen by accident. They’re built—choice by choice—before you press the shutter. Think of composition as the difference between a snapshot and a story.
Rule of Thirds in the Wild
Centering a mountain peak (Option A) feels balanced—but often static. Placing that same peak along a third-line intersection (Option B) creates tension and movement. The Rule of Thirds divides your frame into nine equal sections using two horizontal and two vertical lines. Positioning horizons, trees, or summits along those lines adds energy. A centered horizon can feel like a passport photo; a lowered horizon gives the sky room to breathe.
Leading Lines Are Everywhere
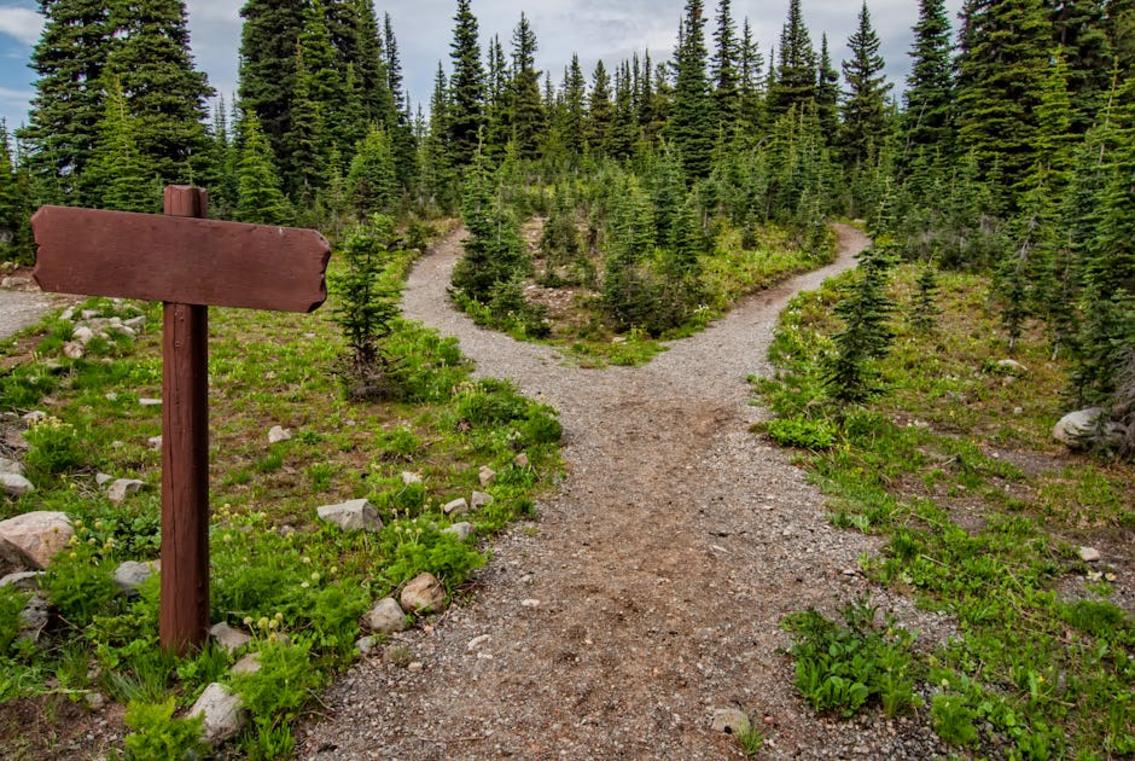
A straight-on forest shot (A) shows what’s there. A winding trail pulling the eye forward (B) shows where you’re going. Leading lines—natural paths that guide the viewer’s eye—can be trails, rivers, or ridgelines. They create narrative flow in landscape photography for hikers. (Yes, your boots are part of the story.)
The Power of Foreground
Wide vista alone (A) feels distant. Add a textured rock or cluster of wildflowers in the foreground (B), and suddenly the scene has depth. Foreground elements act as visual anchors, giving scale to vast spaces. Pro tip: crouch lower than feels necessary—foreground drama increases as your camera drops.
Framing Your View
Open sky around a subject (A) isolates it. Overhanging branches or arching stone (B) create a natural frame—elements within the scene that surround your subject. Framing adds context and focus, like a window into wilderness (nature’s own viewfinder).
Mastering Light and Weather on the Move
The golden hour is often treated like a magic trick, but it is about angle and atmosphere. During the first and last hour of sunlight, shadows stretch and colors warm, creating depth that flat noon light cannot. I think it is worth the early alarm or the late descent. Plan your hike so key viewpoints align with sunrise or sunset; download a sun-path app if you need precision.
Harsh midday sun gets a bad reputation, and yes, the contrast can be brutal. But I disagree with skipping shooting altogether. Use a polarizer to cut glare, expose for highlights, and look for shaded forests or canyon walls. When colors feel washed out, switch to black and white to emphasize texture and form. Some argue you should pack the camera away at noon, but I have captured striking frames by leaning into the contrast.
Overcast skies, fog, and storms are not obstacles; they are mood machines. Diffused light softens shadows, fog adds depth layers, and approaching clouds create drama blue skies rarely match. For landscape photography for hikers, “bad” weather often means better storytelling.
Reading the light is a skill. Watch how clouds move across ridgelines and track the sun’s position relative to your trail. If shadows are shortening, anticipate overhead glare; if they stretch, prepare for glow. The more you observe, the more you arrive where the light is about to peak. Learn how to transition from day hikes to backpacking trips.
Advanced Techniques for Stand-Out Shots
Great photos aren’t accidents—they’re built with intention. Let’s simplify a few advanced techniques so they feel less intimidating and more doable.
Focus Stacking for Ultimate Sharpness
Focus stacking means taking several photos of the same scene while adjusting the focus point each time—foreground rocks in one, mid-ground trees in another, distant peaks in a third. Later, you blend them in editing software so the entire image looks sharp from front to back. Think of it like assembling a group photo where everyone’s eyes are open (finally). This is especially useful in landscape photography for hikers, where depth stretches for miles.
Creating Panoramas
A panorama is a wide image created by stitching multiple overlapping shots. Turn your camera vertically, overlap each frame by about 30%, and keep your exposure consistent. This avoids uneven lighting seams. The result? A HIGH-RES image that captures the true scale of a summit view.
Long Exposure on the Trail
Long exposure simply means using a slower shutter speed to capture motion—like silky waterfalls or drifting clouds. You’ll need a tripod and often an ND (Neutral Density) filter, which reduces light so your image doesn’t overexpose.
The Human Element
Adding a hiker into the frame provides scale. Vast landscapes feel even bigger when a small figure stands against them.
Great hikes deserve better than rushed snapshots. First, slow down and study the light—early morning and late afternoon create softer contrast and richer color. Next, anchor your frame with a strong foreground element like wildflowers or textured rocks; this adds depth, which means a sense of three-dimensional space in a flat image. However, don’t overload your pack—one versatile lens often beats three average ones.
If you’re serious about landscape photography for hikers, practice one skill per trip. For example, spend an entire hike composing with leading lines such as trails or rivers. Pro tip: review shots on-site and adjust immediately.
Capture the Wild With Confidence
You came here looking for clarity on how to elevate your landscape photography for hikers, and now you have the roadmap to do exactly that. From choosing the right light and gear to understanding composition on unpredictable terrain, you’re better equipped to turn every trail into a gallery-worthy opportunity.
The real frustration isn’t the lack of beautiful places — it’s not knowing how to do them justice. Missed lighting. Blurry summit shots. Photos that never quite match what your eyes experienced. That gap between the moment and the image is what holds most hikers back.
The good news? You don’t have to settle for average trail photos anymore.
Now it’s time to put these techniques into action. Start planning your next hike with intention. Pack smart, shoot during golden hour, and experiment with perspective and framing. If you want step-by-step gear comparisons, field-tested techniques, and trail-ready photography tips trusted by thousands of outdoor enthusiasts, explore our in-depth guides and resources today.
Your next hike is waiting — and this time, your photos will finally capture it the way it deserves. Start now and transform every trail into a masterpiece.